

Bali is dreamy rice fields, waterfalls, temples, beaches, and those Instagrammable floating breakfasts. But let’s be real: none of it feels quite as magical when you’re standing at Ngurah Rai Airport with no internet, trying to connect with your driver who’s already holding up a sign with your name.
That was me on day one of my Bali trip. I thought I was clever by buying an eSIM before flying. “No queues at the airport, no fumbling with tiny SIM trays, no problem,” I told myself. But instead of smooth sailing, I ended up with one headache after another.
Here’s my full story of the biggest eSIM mistakes I made in Bali, what I wish I’d done differently, and how you can save yourself from repeating my rookie errors.
My eSIM Disaster in Bali
Here’s how my trip started out, in a nutshell:

I went for the cheapest random eSIM from a sketchy site and ended up with basically zero coverage once I got to Ubud and Nusa Penida. On top of that, I forgot to download the QR code before landing (airport WiFi wasn’t much help), didn’t realize the plan was data-only so I couldn’t even call my driver, and I activated it way too early so I lost a couple of days before I even touched down. To make it worse, my friend’s phone wasn’t even eSIM compatible. Learned the hard way that not all eSIMs are created equal.
Now, let’s break this down mistake by mistake so you don’t repeat what I did.
Mistake #1: Buying the Cheapest Random eSIM
When I was planning my trip, I saw so many eSIM providers online. Some looked fancy and trustworthy, others were… let’s say “sketchy.” I thought, “Why pay $15 when I can get this one for $4?” Big mistake.
The eSIM technically worked, but the coverage was awful. In Canggu, I got decent bars, but as soon as I headed inland to Ubud, it was dead. And on Nusa Penida? Forget it — zero service, no maps, no WhatsApp calls. I might as well have been carrying around a potato.
What I learned: cheapest doesn’t mean best. For Bali, stick to reliable providers like:
- Airalo (uses Telkomsel network, works in most areas)
- Nomad (solid coverage, competitive prices)
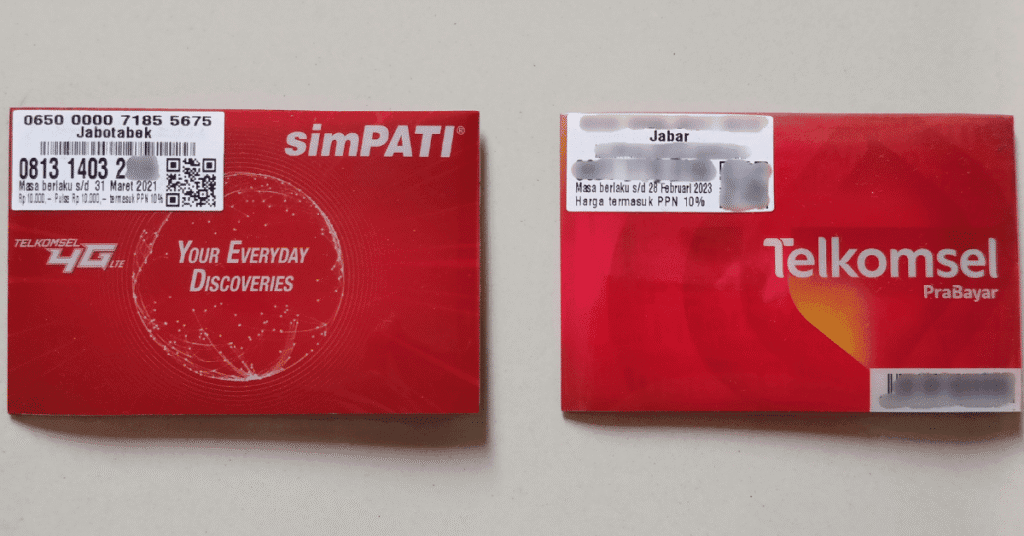
- Telkomsel’s own eSIM (buy once you’re in Bali — strongest local coverage)
Mistake #2: Forgetting to Download the QR Code Before Landing
This one was on me. The provider emailed me a QR code to install the eSIM. I figured I’d just grab it at the airport. Nope.

Bali airport WiFi is hit-or-miss, and when hundreds of tourists are trying to connect at once, good luck. I stood in arrivals, bags piled around me, frantically refreshing my inbox with no success. In the end, I had to pay for a pricey short-term airport WiFi plan just to get my eSIM activated.
What I learned: always download your QR code and eSIM instructions before you leave home. Even better, screenshot them in case you can’t access email.
Mistake #3: Not Realizing It Was Data-Only
Some eSIMs only give you data. That’s fine for most things, because in Bali everyone uses WhatsApp for communication — your driver, hotel, and even local shops. But on that first day, I really wanted to just call my driver directly, and I couldn’t. My plan didn’t include calls or SMS.
It wasn’t the end of the world, but it caused unnecessary stress.
What I learned: read the fine print. If you need actual voice calls, either:
- Get a hybrid eSIM that supports data + calls, OR
- Grab a cheap local SIM for calling and use your eSIM for data.
Mistake #4: Activating Too Early
I was so excited that I activated my plan at home — two days before flying. Bad idea. By the time I touched down in Denpasar, I had already lost 48 hours of my package.

Some eSIM providers start the clock the moment you activate, not when you first connect in the destination country.
What I learned: only activate your Bali eSIM once you land (or at most, on the plane just before arrival).
Mistake #5: Not Checking Phone Compatibility
Here’s the part where I felt bad for my friend. We both assumed her phone supported eSIM. Spoiler: it didn’t. Standing in Bali airport, bags everywhere, we discovered her model was too old. She had to buy a physical SIM from a kiosk, while I fumbled with my half-working eSIM. Not the smooth arrival we imagined.
What I learned: check if your phone supports eSIM before you buy. On iPhone, it’s usually iPhone XR and above. On Android, it depends on the model. Always confirm first.
How eSIMs Actually Work in Bali
Now that I’ve learned my lesson, here’s the practical stuff:

- Coverage: Telkomsel is the strongest provider in Bali (especially in Ubud, Munduk, Nusa Penida, and other offbeat spots). XL and Indosat are fine for Denpasar, Seminyak, and Canggu but weaker inland.
- Speed: In touristy areas, 4G is fine, and you’ll get some 5G near Denpasar. But once you’re deep in the rice fields, don’t expect blazing speeds.
- Use cases: eSIMs are best for data — Google Maps, WhatsApp, Instagram, booking Grab/Gojek rides. For calls, locals still prefer standard SIM cards.
The Pros of Using an eSIM in Bali
Let’s be fair — it’s not all bad. Once I sorted myself out, there were definite perks:
- No fiddling with SIM card trays.
- No risk of losing my home SIM.
- Could switch plans on the fly.
- Activated instantly (once I finally had the QR code).
If you pick the right provider, eSIMs really do make life easier in Bali.
When a Local SIM is the Better Choice
For some travelers, especially if you’re staying longer than a month or need lots of local calls, a physical SIM might make more sense.
You can buy one at:
- Telkomsel stores (official and reliable)
- XL or Indosat shops
- Even some Circle K or Indomaret convenience stores
Prices range from IDR 50,000–150,000 (about $3–10 USD) depending on the data package.
My Recommendations for Travelers
Here’s what I’d tell a friend planning a Bali trip tomorrow:
- Short trip (under 2 weeks): Get an eSIM from Airalo or Nomad. Reliable, quick, and worth the price.
- Long trip (1+ month): Consider a local Telkomsel SIM. You’ll save money and get stronger coverage inland.
- Combination: If you’re traveling as a couple, one of you can grab an eSIM while the other gets a local SIM. That way, you’ve got backup if one fails.
Tips to Avoid My Mistakes
- Always download and screenshot your QR code before leaving home.
- Double-check your phone’s eSIM compatibility.
- Don’t activate until you land in Bali.
- If it says “data-only,” know that calls won’t work (but WhatsApp is fine).
- Pay a little extra for a trusted provider. Your peace of mind is worth it.
Final Thoughts
Looking back, my eSIM drama is kinda funny — now. At the time, standing at Bali airport with zero internet, it was stressful. But honestly, once I sorted things out, having an eSIM was super convenient. I used it to book rides, check restaurant reviews, and upload way too many sunset photos in Canggu.
So, my advice? Get an eSIM for Bali, but don’t cut corners. Spend a few extra bucks, prep before you fly, and you’ll thank yourself later. Trust me, it’s much better to be sipping a fresh coconut on Nusa Penida with strong 4G than waving your phone in the air praying for one bar of signal.
Safe travels, and may your Bali trip be full of strong WiFi and stronger sunsets